How to host Umbraco website on IIS
Step 1: Install IIS
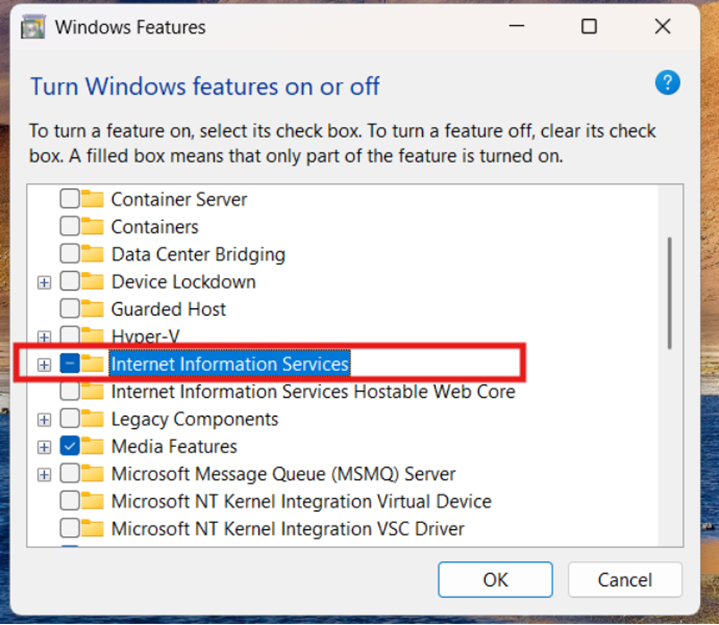
Press windows icon button and type “Turn Windows features on or off” and press enter then show below image and highlight row checkbox select then click OK, let it install, and restart your PC if needed.
Step 2: Publish your Umbraco project
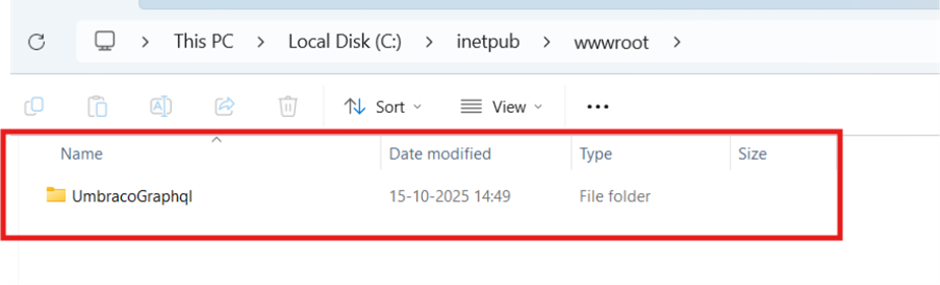
First create one folder your project name in this file path - C:\inetpub\wwwroot\
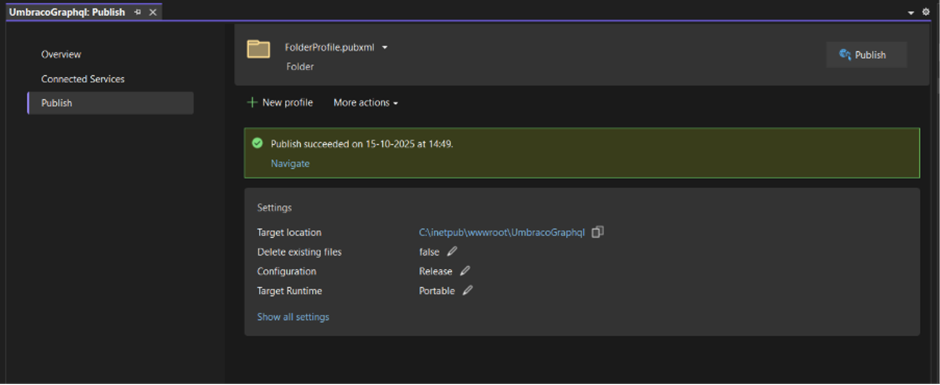
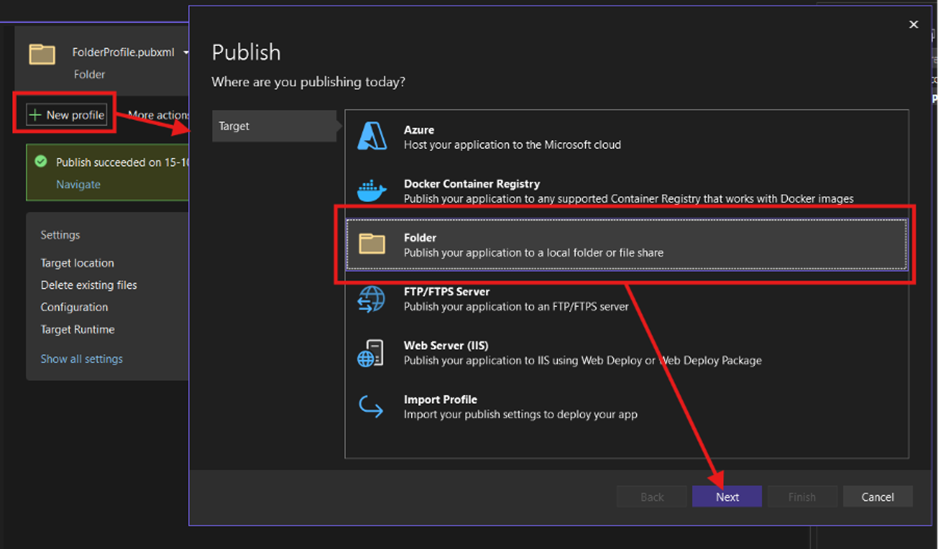
Open visual studio with your project and Right-click your project → Publish then show below show screen below image wise
Now click on New profile then open new popup and select “Folder” option press Next button.
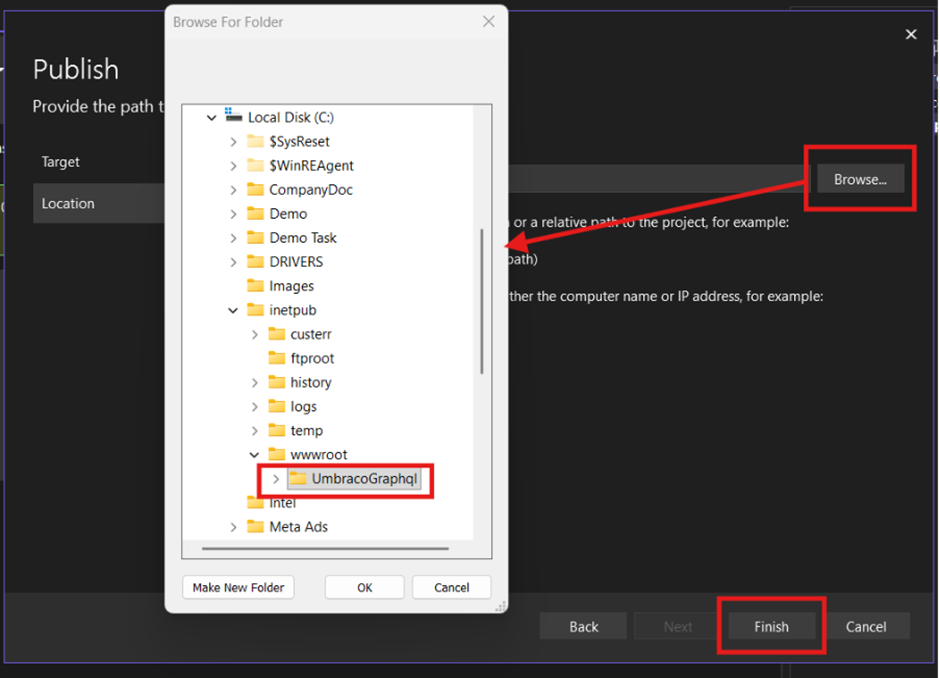
After press Next button then show new popup as below image wise and click Browse button then select this path : C:\inetpub\wwwroot\YourProjectName and after select path then press “Ok” and after press “Finish” then your publish profile create successfully.
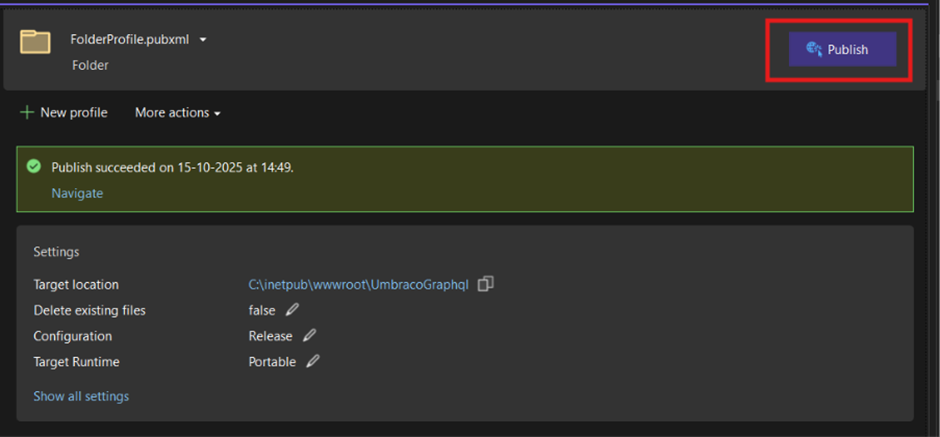
After finish publish profile process then show screen as below image wise press highlighted “Publish” button then all code is published successfully.
Step 3: Configure IIS Site
- Open IIS Manager
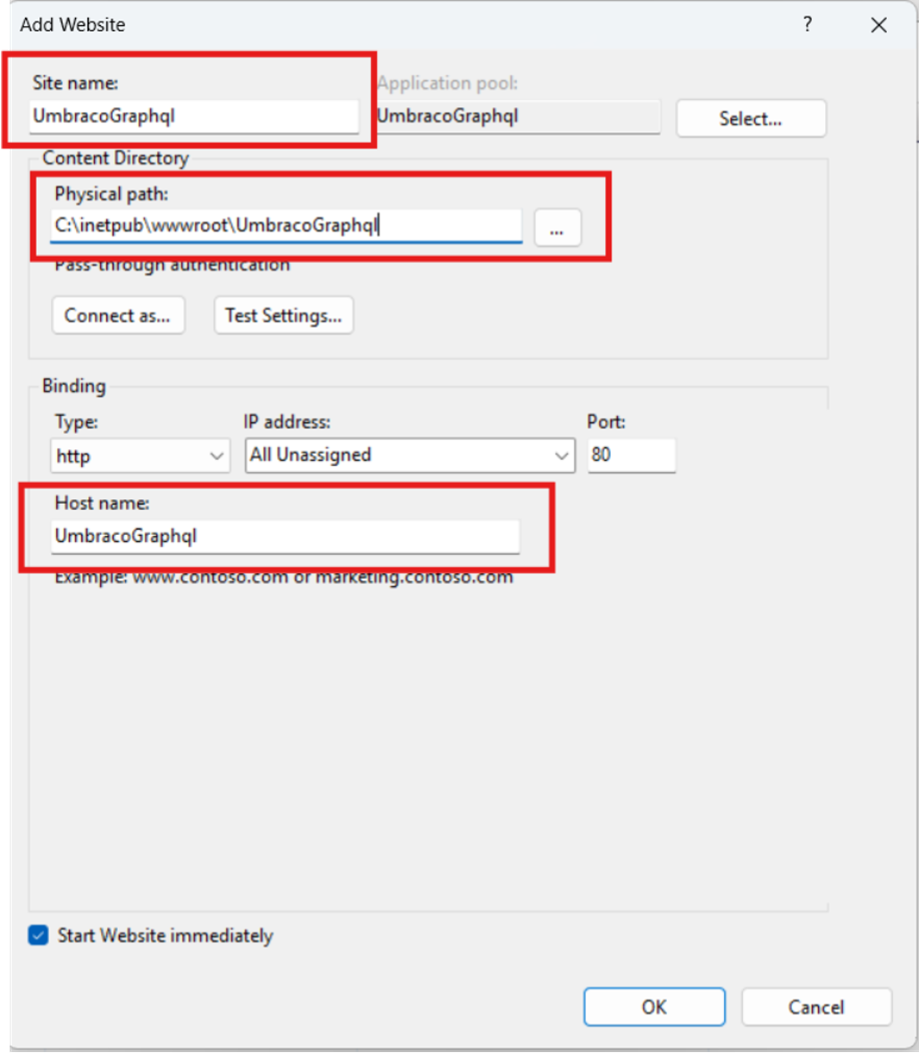
- Right-click Sites → Add Website
- After click Add Website then show popup as per below image wise please update your project detail as per highlighted box after update all details then press “OK”.
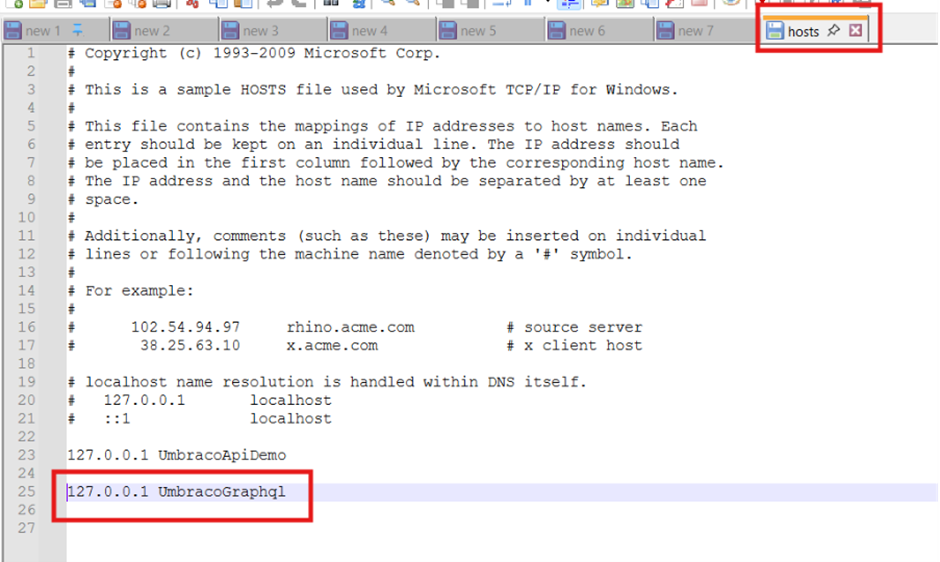
Step 4: Update your hosts file
- Open File Explorer
- Open file : C:\Windows\System32\drivers\etc\hosts
- Open hosts file in Notepad as Administrator add this line : 127.0.0.1 UmbracoGraphql (update your hostname)
Step 5: Configure web.config (if missing)
Open visual studio with your project and Right-click your project and add new file name assign “web.config” and paste it code as per below code:
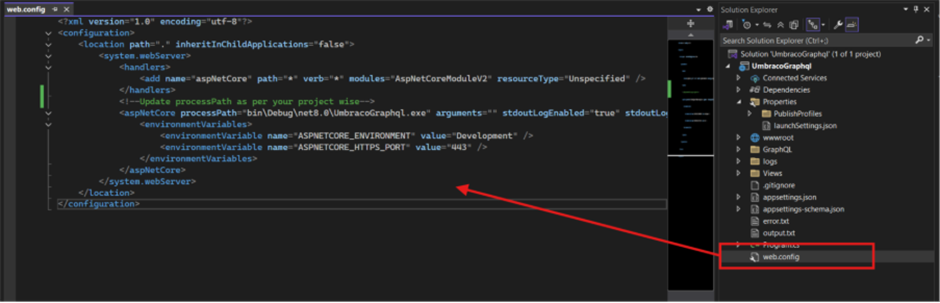
WebConfig Code :
<?xml version="1.0" encoding="utf-8"?>
<configuration>
<location path="." inheritInChildApplications="false">
<system.webServer>
<handlers>
<add name="aspNetCore" path="*" verb="*" modules="AspNetCoreModuleV2" resourceType="Unspecified" />
</handlers>
<!--Update processPath as per your project wise-->
<aspNetCore processPath="bin\Debug\net8.0\UmbracoGraphql.exe" arguments="" stdoutLogEnabled="true" stdoutLogFile=".\logs\stdout" hostingModel="inprocess">
<environmentVariables>
<environmentVariable name="ASPNETCORE_ENVIRONMENT" value="Development" />
<environmentVariable name="ASPNETCORE_HTTPS_PORT" value="443" />
</environmentVariables>
</aspNetCore>
</system.webServer>
</location>
</configuration>
Step 6: Update launchSettings.json file
Need to add IIS profile in launchSettings.json file please add code as per below image wise and also update applicationurl & launchurl as your project hostname wise

Step 7: Browse Your Site
Go to: https://UmbracoGraphql


Frequently Asked Questions
<configuration>
 <location path="." inheritInChildApplications="false">
   <system.webServer>
     <handlers>
       <add name="aspNetCore" path="*" verb="*" modules="AspNetCoreModuleV2" resourceType="Unspecified" />
     </handlers>
     <aspNetCore processPath="bin\Debug\net8.0\UmbracoGraphql.exe" stdoutLogEnabled="true" stdoutLogFile=".\logs\stdout" hostingModel="inprocess">
       <environmentVariables>
         <environmentVariable name="ASPNETCORE_ENVIRONMENT" value="Development" />
         <environmentVariable name="ASPNETCORE_HTTPS_PORT" value="443" />
       </environmentVariables>
     </aspNetCore>
   </system.webServer>
 </location>
</configuration>
Related Blogs


Read More

Read More

Read More