
How to Build a Modern, Component-Based Page in Umbraco 13 Using the Block Grid Editor
Step 1: Click on Create new project in visual studio code 2022
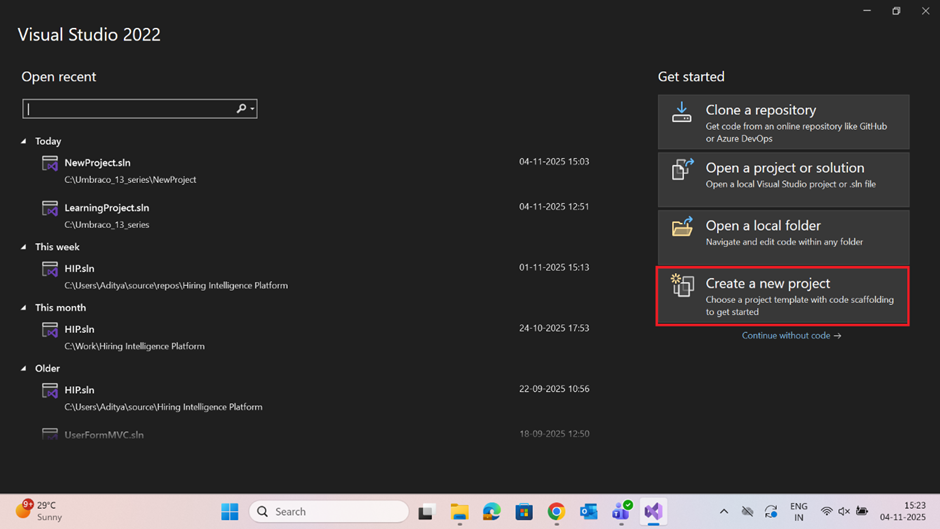
Note: You should have Umbraco 13 in your local machine for the next step.
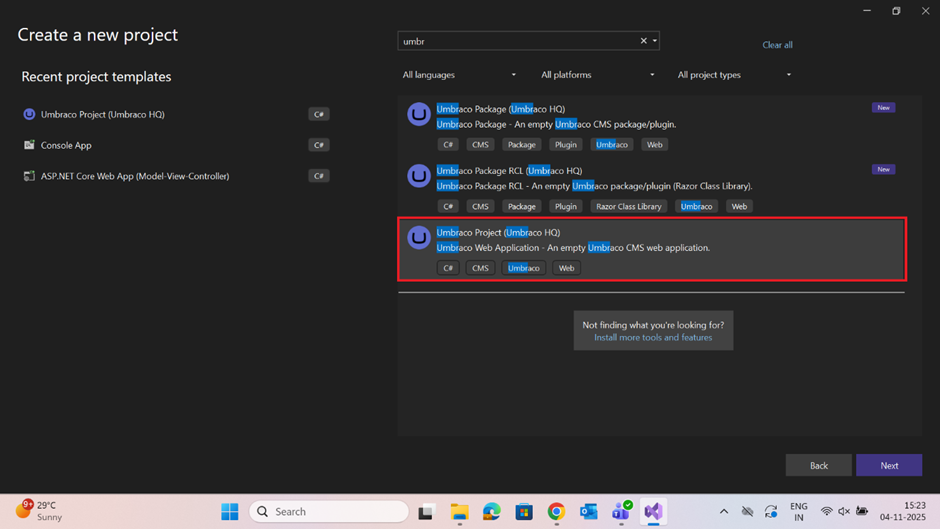
Search for Umbraco project and select Umbraco Project and select next button.
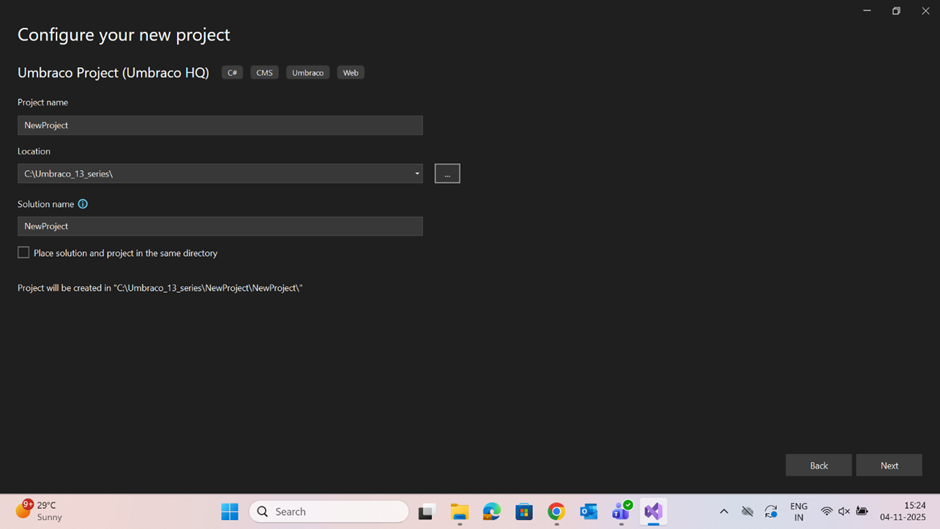
Now name your project whatever you want to name and select file location for the project folder and select next button.
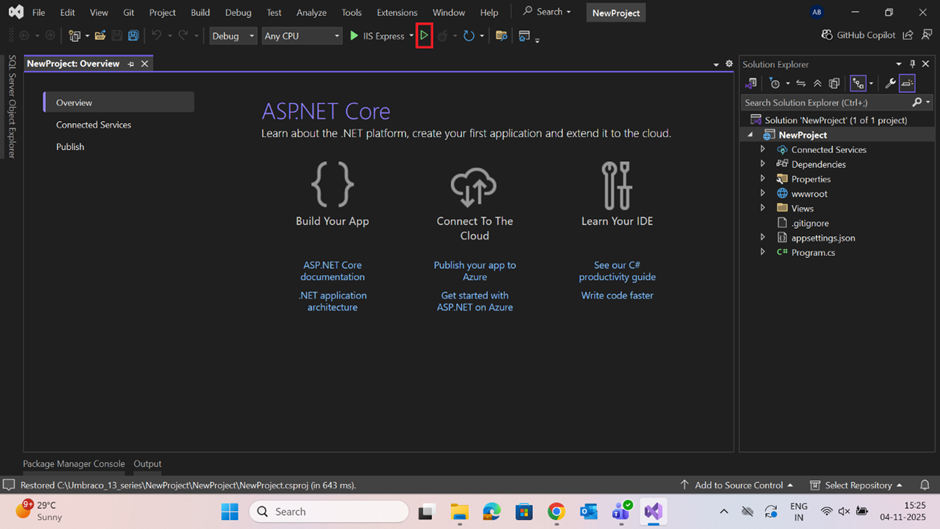
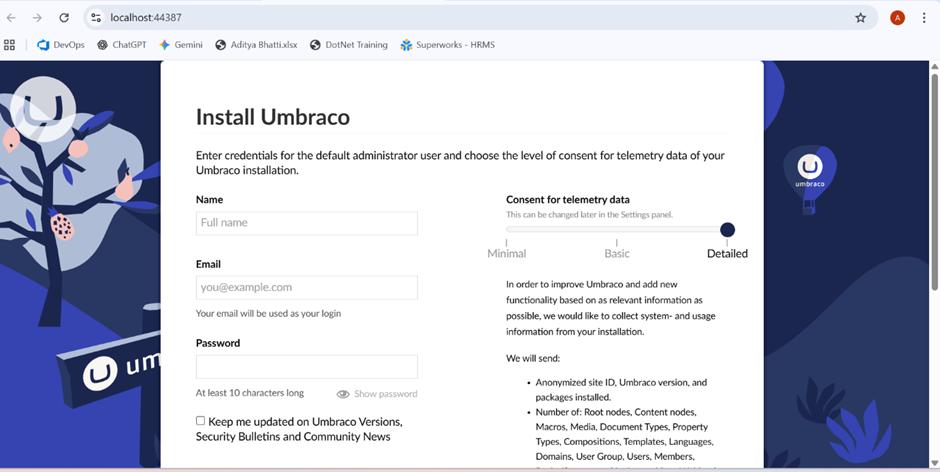
Click the run button to run the project and this will open the Umbraco install page
In the Umbraco install page write name , email, and password and this will be used every time when you will open Umbraco backoffice for this particular project and if you are using any other database then change the database there will be option on that page to change it.
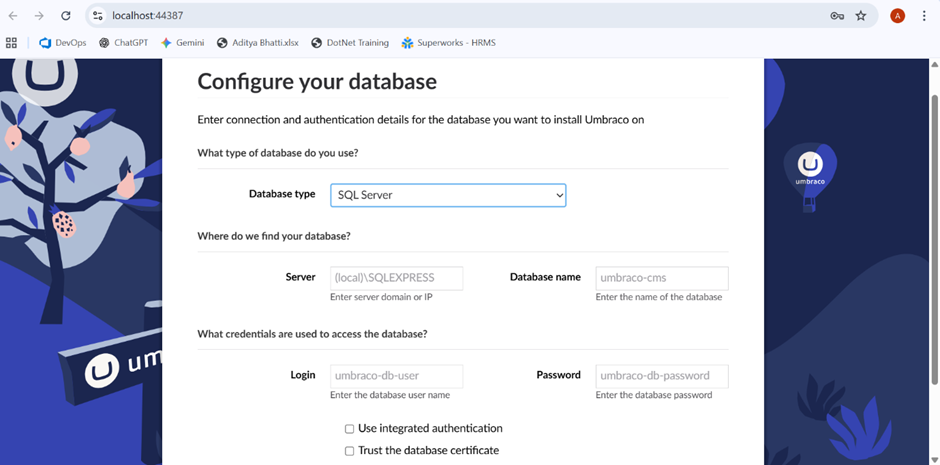
Select the database you are using I have used SQL Server Management Studio and then enter SQL Server name , database name whatever you want write and I am using integrated authentication so I am ticking that.
Note: Tick both Use integrated authentication and trust the database certificate otherwise it will not connect with the database.
Step 2: Create new folder in Document types
- Go to Umbraco settings right click on document type and create new folder name it compositions then right click on compositions folder and select create -> Document type and name it global settings
- Now add new tab name it Global then add a group name site identity
- Inside the group add property 1 Name :- Site logo , select editor :- Media picker
- Property 2 Name :- Site Owner Name, select editor:- Textstring and save this.

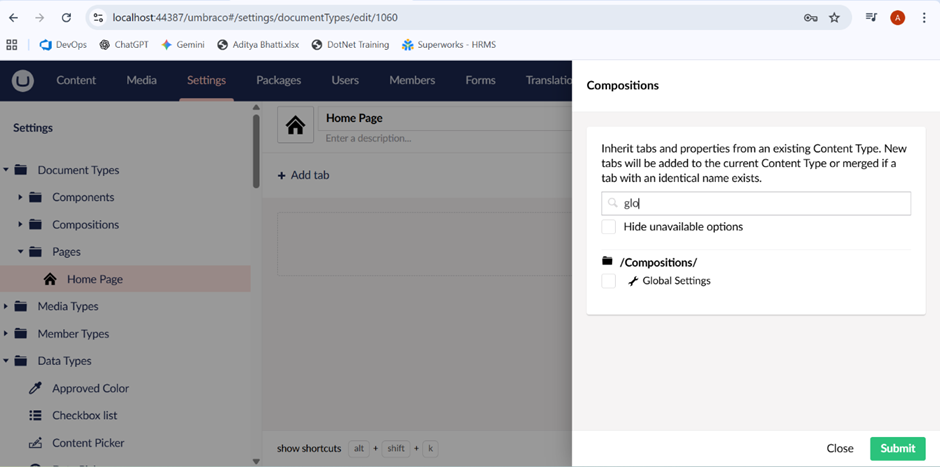
Now Create one new folder under document types name it Pages and right click on pages and Create -> document type with template then name it home page

Now at top click on compositions then in search box enter global settings and click on that and submit and then save.
Step 3: Create components folder under document type
In Umbraco settings click on the new folder and name it Components and right click on it and create -> New Element type name it Hero Banner and click on permission tab and enable is element type if not enalabled.
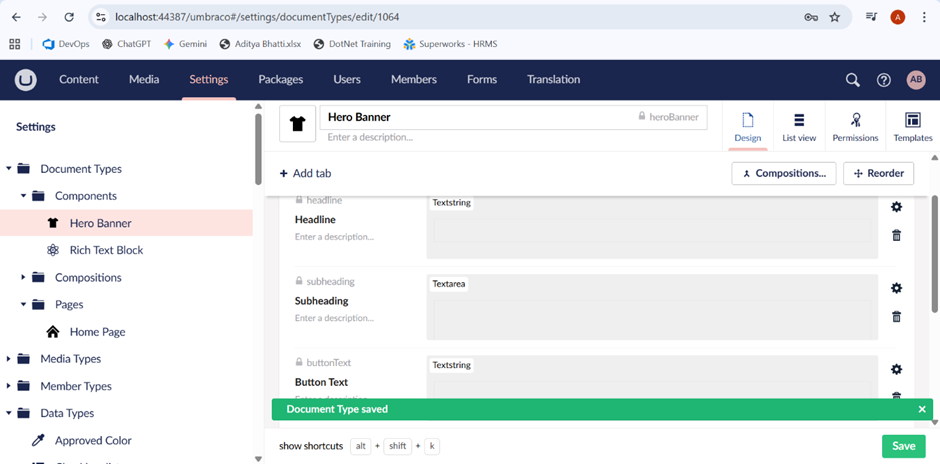
Add a group and name it Content then add property
Property 1 :- Headline , Name:- Headline ,editor:- TextString
Property 2:- Subheading, Name :- Subheading, editor:- Textarea
Property 3 :- Button Text ,Name :- Button Text, editor:- Textstring
Property 4 :- Button Link, Name :- Button Link, editor :- Content Picker and click save.
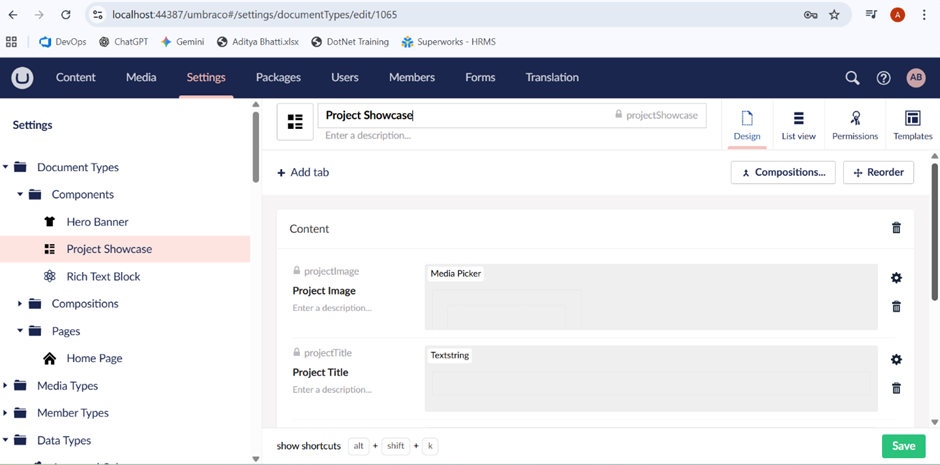
Now Right click on components folder Create -> Element type -> name it Project Showcase in permissions enable is element type.
Add a group named Content and in in this add property 1 :- Project Image, Name :- Project Image, editor:- Media Picker
Property 2 :- Project Title , Name :- Project Title, Editor :- Textstring
Property 3 :- Project Description, Name :- Project Description, Editor :- Textarea and save.
Step 4: Create new folder in Datatype name it grids
Create new folder under settings-> datatype -> name it Grids
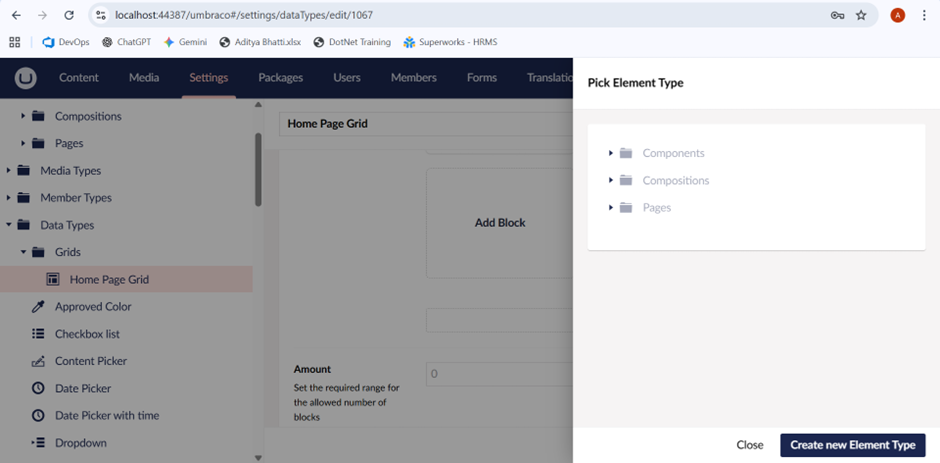
Right click on Grids -> Create -> New datatype -> name it Home Page Grid
In property editor select block grid editor and click save.

Now click on add block -> Components -> Hero Banner -> Create new element type-> Submit, repeat this for Project showcase also
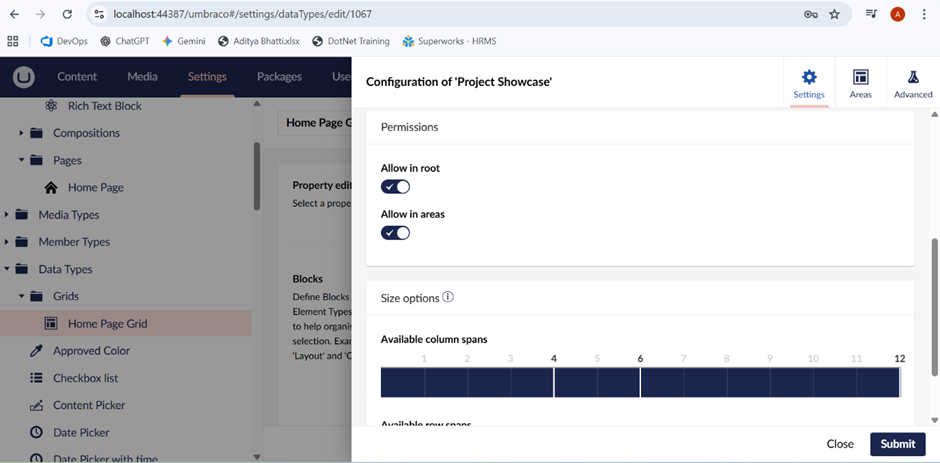
Now click on hero banner block and in size options click on 12 and submit and save
Now in click on project showcase and in size options click on 4 then 6 and 12 click submit and then save.
Step 5 :- Add the Block grid to our home page
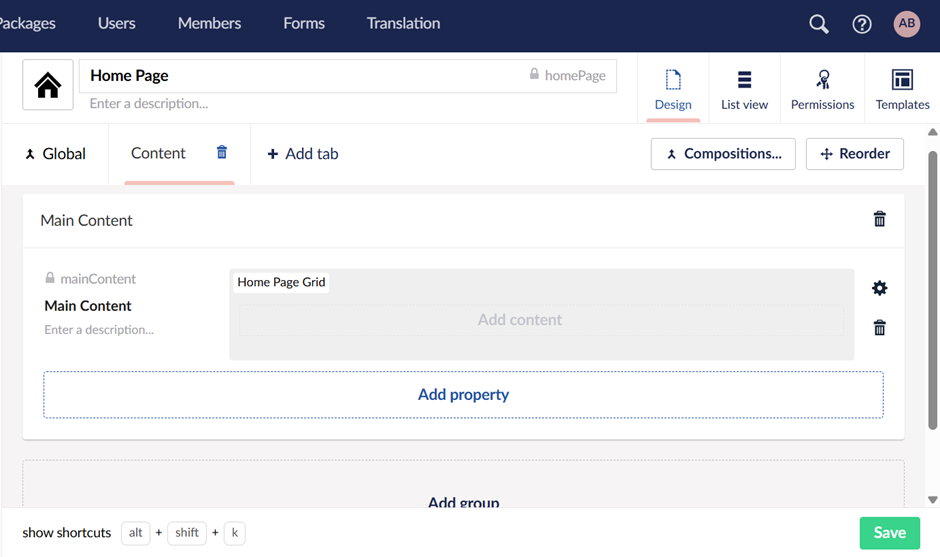
In Settings -> Document types -> Pages -> Home Page -> design -> Add tab name it content
Add group Name it “Main Content”, add property Name :- Main Content, editor :- Home Page Grid (Data type we just created) and save.
Step 6: Render the Block Grid on Your Home Page and save
Add this code in HomePage.cshtml
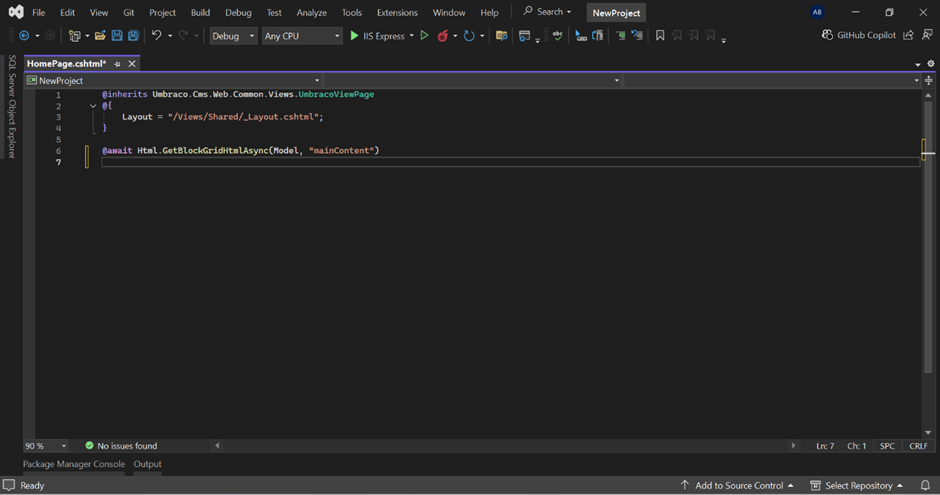
Note:- This will throw an error but don’t worry this is good error it is just we have to add our hero-banner html file to render it, so we will be doing this in next step.
Step 7 : In vs code open Views -> partials -> blockgrid
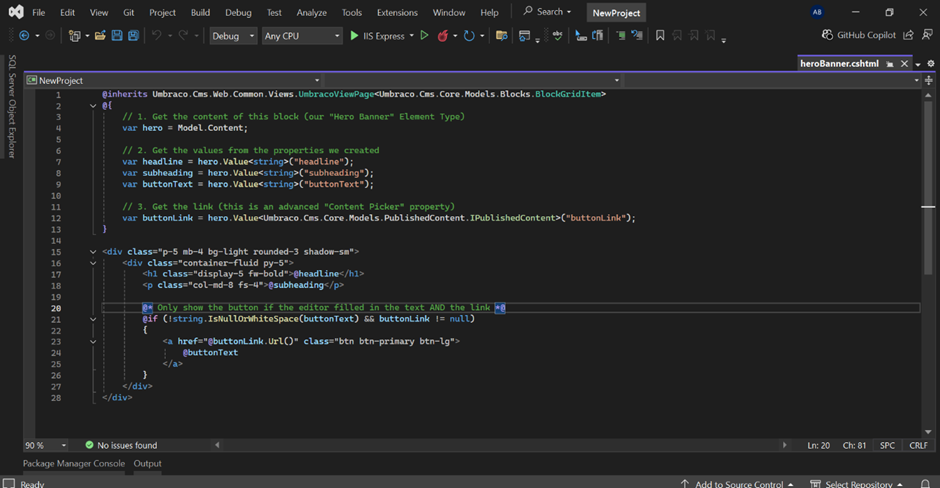
Add new folder name it Components and then right click on this folder then add -> New item -> razor-view – empty -> name the file heroBanner.cshtml -> click add
Now add this code
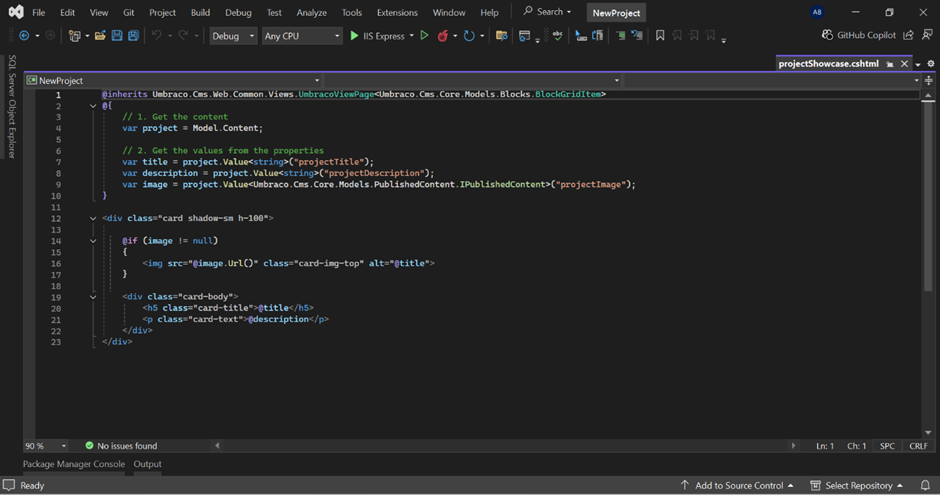
Now Create one more file in components folder and name it projectShowcase.cshtml and this code
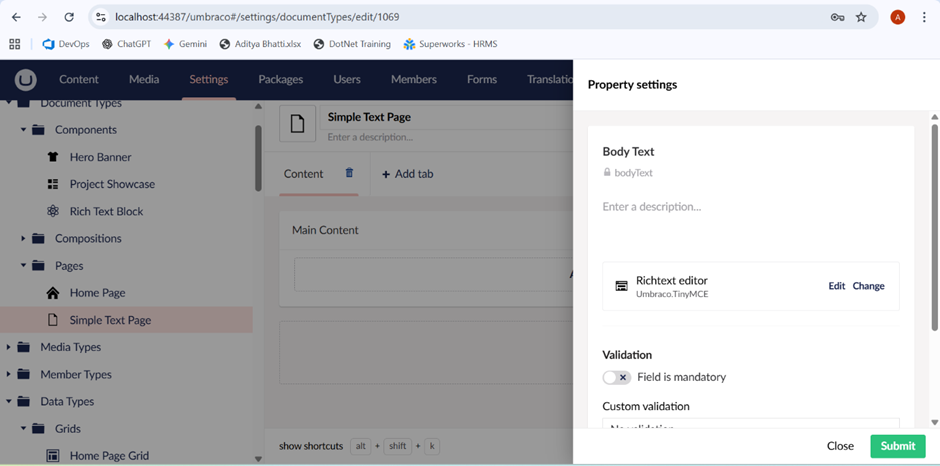
Step 8 : Create the "Simple Text Page" Blueprint
In Umbraco settings -> Document type -> Pages -> Create -> Document type with template
Name it Simple Text Page and click on add tab name it Content then on this content add group name it Main Content then add property Name :- Body Text, editor :- Rich text editor and save.
Now go to Umbraco settings -> Document type -> Pages -> Home Page -> Permission then click add child and select Simple Text Page and submit and save
Now go to Home page again and click on permission then add child and select simple text page and save it
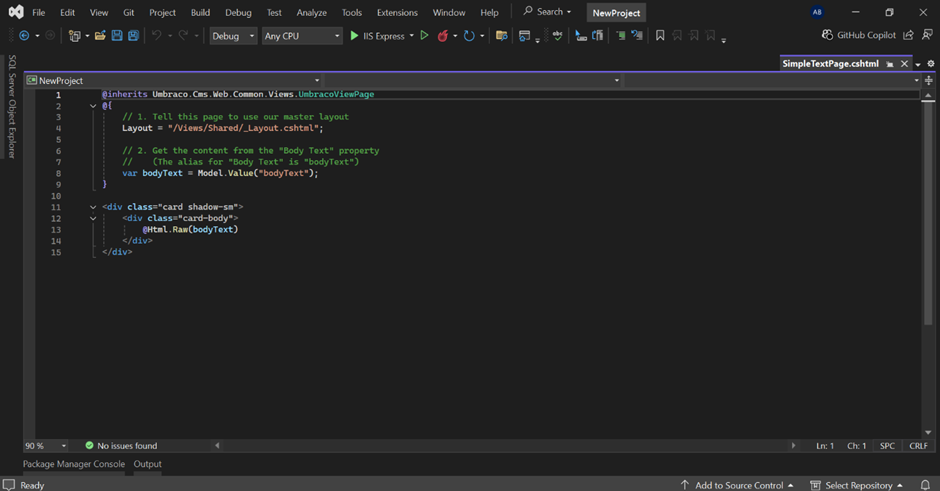
Step 9 :- Open vs code -> Simpletextpage.cshtml file and write this code
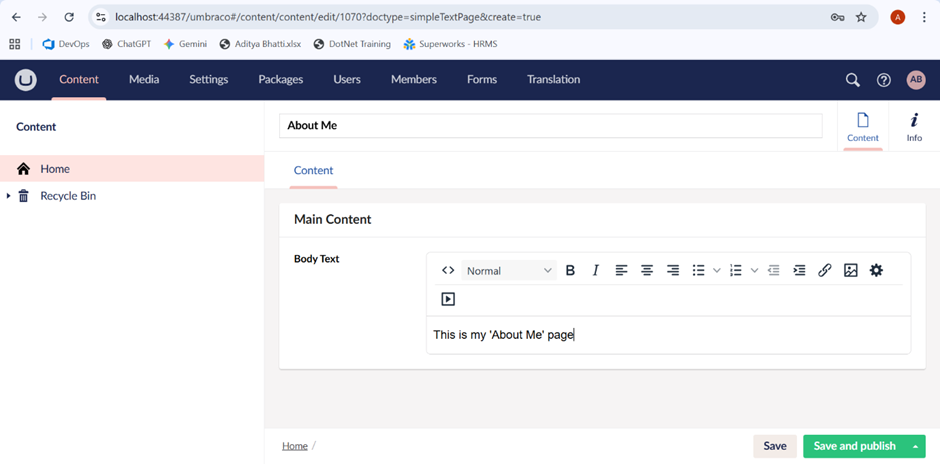
Step 10:- Create Child pages “About Me”, “Contact”
In Umbraco go to content Right click on home page and you will see simple text page select it and name About Me and in the box write this is the about me page then save and publish.
Repeat the steps above for contact page and save and publish
Step 11: Layout file
Note :- Add your css file link in this layout file and css file will be added in wwwroot folder , create css folder and your css file in it and add your css styling according to your need.
@inherits Umbraco.Cms.Web.Common.Views.UmbracoViewPage
@{
// --- C# CODE BLOCK WITH SAFETY CHECKS ---
var siteOwnerName = "MyFreshSite";
var pageTitle = "Welcome";
var childPages = Enumerable.Empty<Umbraco.Cms.Core.Models.PublishedContent.IPublishedContent>();
Umbraco.Cms.Core.Models.PublishedContent.IPublishedContent siteLogo = null;
if (Model != null)
{
var homePage = Model.Root();
if (homePage != null)
{
siteOwnerName = homePage.Value<string>("siteOwnerName", fallback: Fallback.ToDefaultValue, defaultValue: "MyFreshSite");
childPages = homePage.Children()?.Where(x => x.IsVisible());
pageTitle = Model.Name();
siteLogo = homePage.Value<Umbraco.Cms.Core.Models.PublishedContent.IPublishedContent>("siteLogo");
}
}
}
<!DOCTYPE html>
<html lang="en">
<head>
<meta charset="utf-8" />
<meta name="viewport" content="width=device-width, initial-scale=1.0" />
<title>@pageTitle | @siteOwnerName</title>
<link href="https://cdn.jsdelivr.net/npm/bootstrap@5.3.3/dist/css/bootstrap.min.css" rel="stylesheet">
<link rel="stylesheet" href="~/css/my-styles.css" />
</head>
<body class="d-flex flex-column min-vh-100">
<header>
<nav class="navbar navbar-expand-lg navbar-dark bg-dark">
<div class="container">
<a class="navbar-brand" href="/">
@if (siteLogo != null)
{
<img src="@siteLogo.Url()" alt="@siteOwnerName Logo" style="height: 60px;">
}
else
{
@siteOwnerName
}
</a>
@if (childPages != null && childPages.Any())
{
<ul class="navbar-nav ms-auto mb-2 mb-lg-0">
@foreach (var childPage in childPages)
{
<li class="nav-item">
<a class="nav-link" href="@childPage.Url()">@childPage.Name()</a>
</li>
}
</ul>
}
</div>
</nav>
</header>
<main role="main" class="container py-4 flex-grow-1">
@RenderBody()
</main>
<footer class="text-center py-4 bg-light">
<p>© @DateTime.Now.Year - @siteOwnerName</p>
</footer>
<script src="https://cdn.jsdelivr.net/npm/bootstrap@5.3.3/dist/js/bootstrap.bundle.min.js"></script>
</body>
</html>
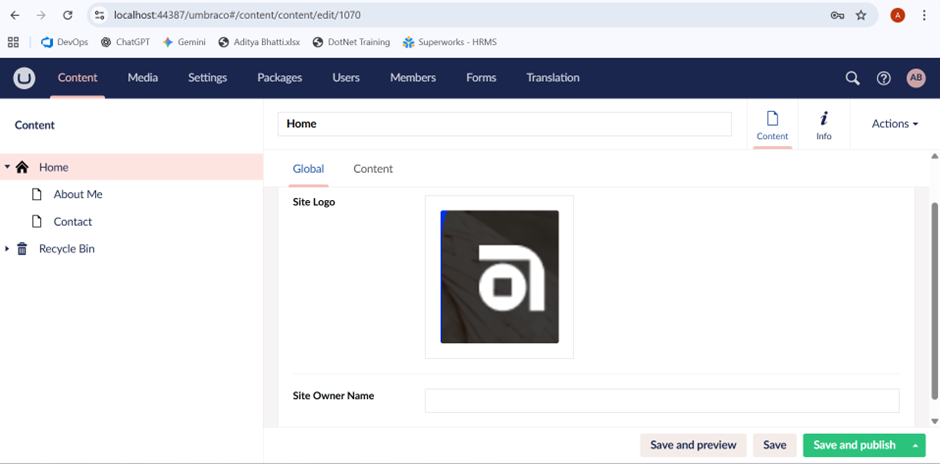
Step 12 :- Adding content to our page
Open content in Umbraco click on home and you will see to add logo and site owner name add your logo and site owner name.
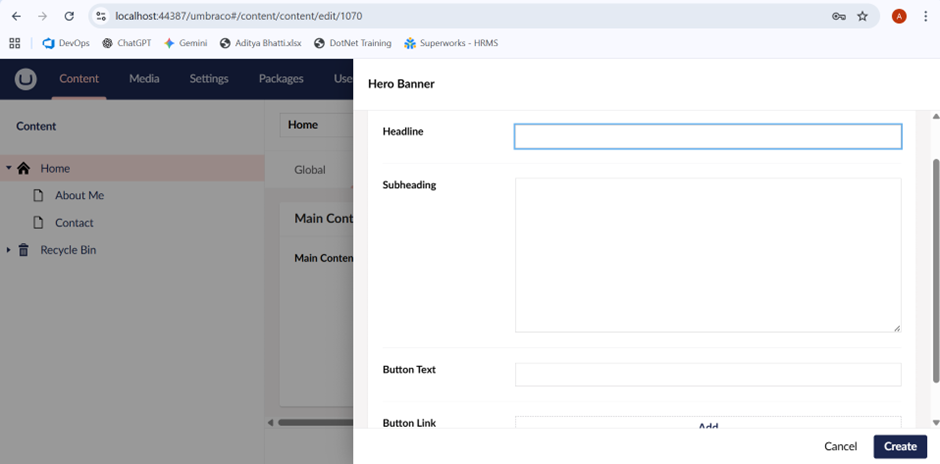
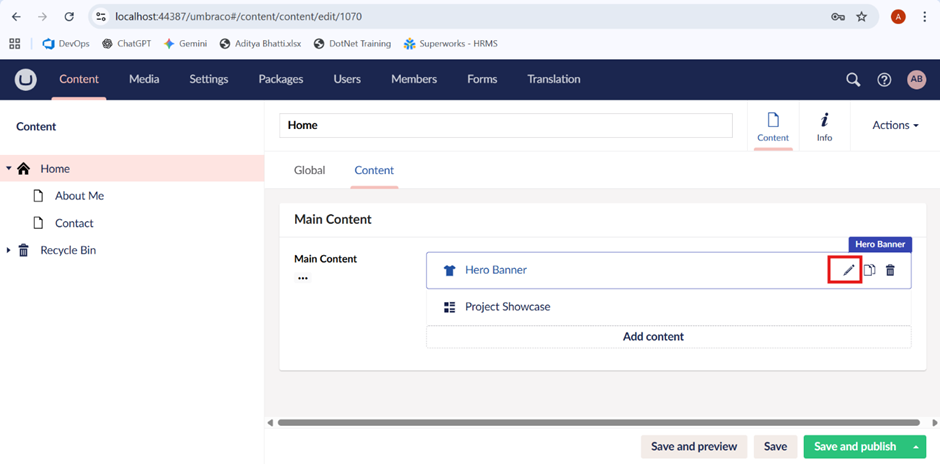
Now open content -> Home -> Content tab
You will see add content click on it and you will see hero banner and project showcase click on hero banner and add details that you want to show on your page and click create and then save and publish
In button link click on add you will see about me and contact page select on any one
Repeat the above step for project show case also you can add image and title by clicking on project showcase and this will show in the website.
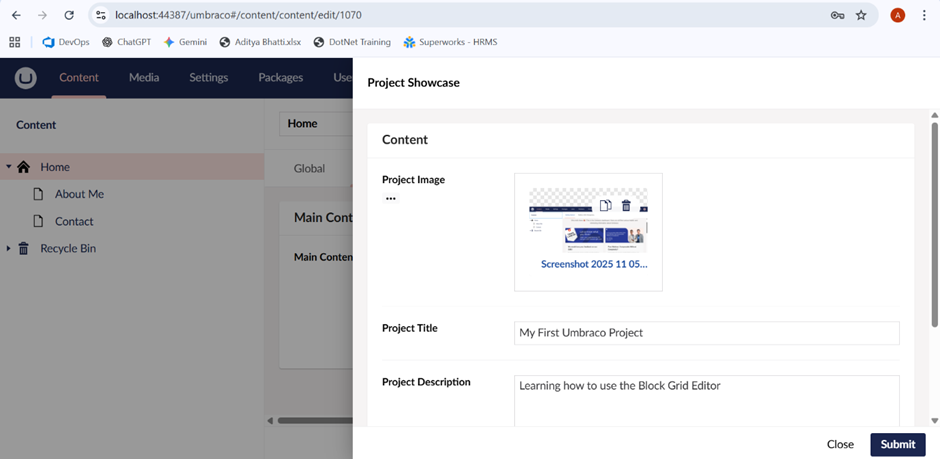
You can also edit the details which you filled , click on the pencil icon as shown below
Note :- You can see your website by clicking save and preview button but first click save and publish.
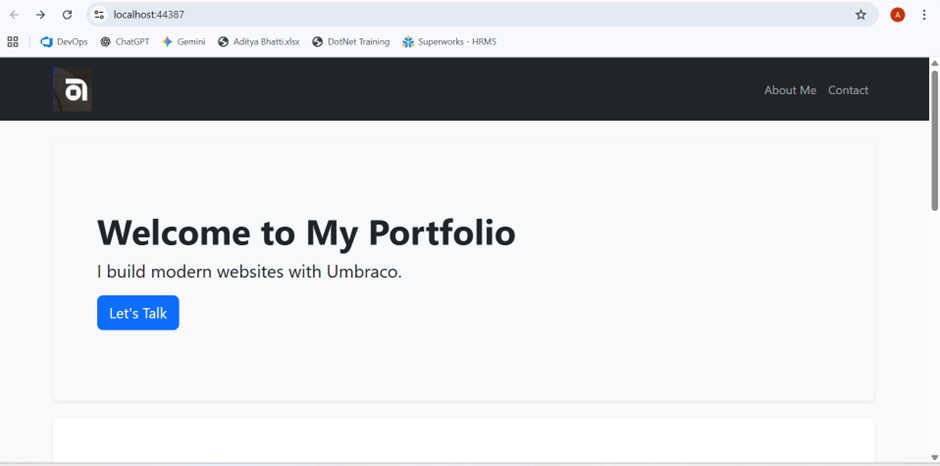
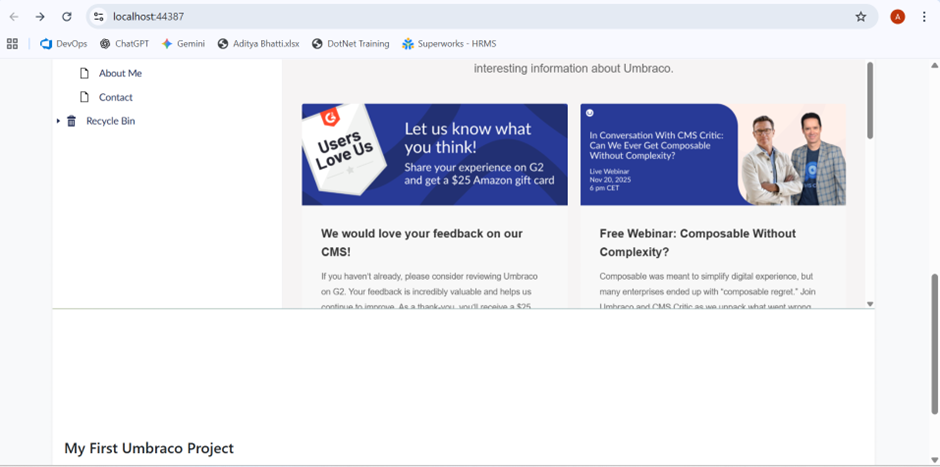
Step 13 :- Final look of our page

Related Blogs


Read More

Read More

Read More