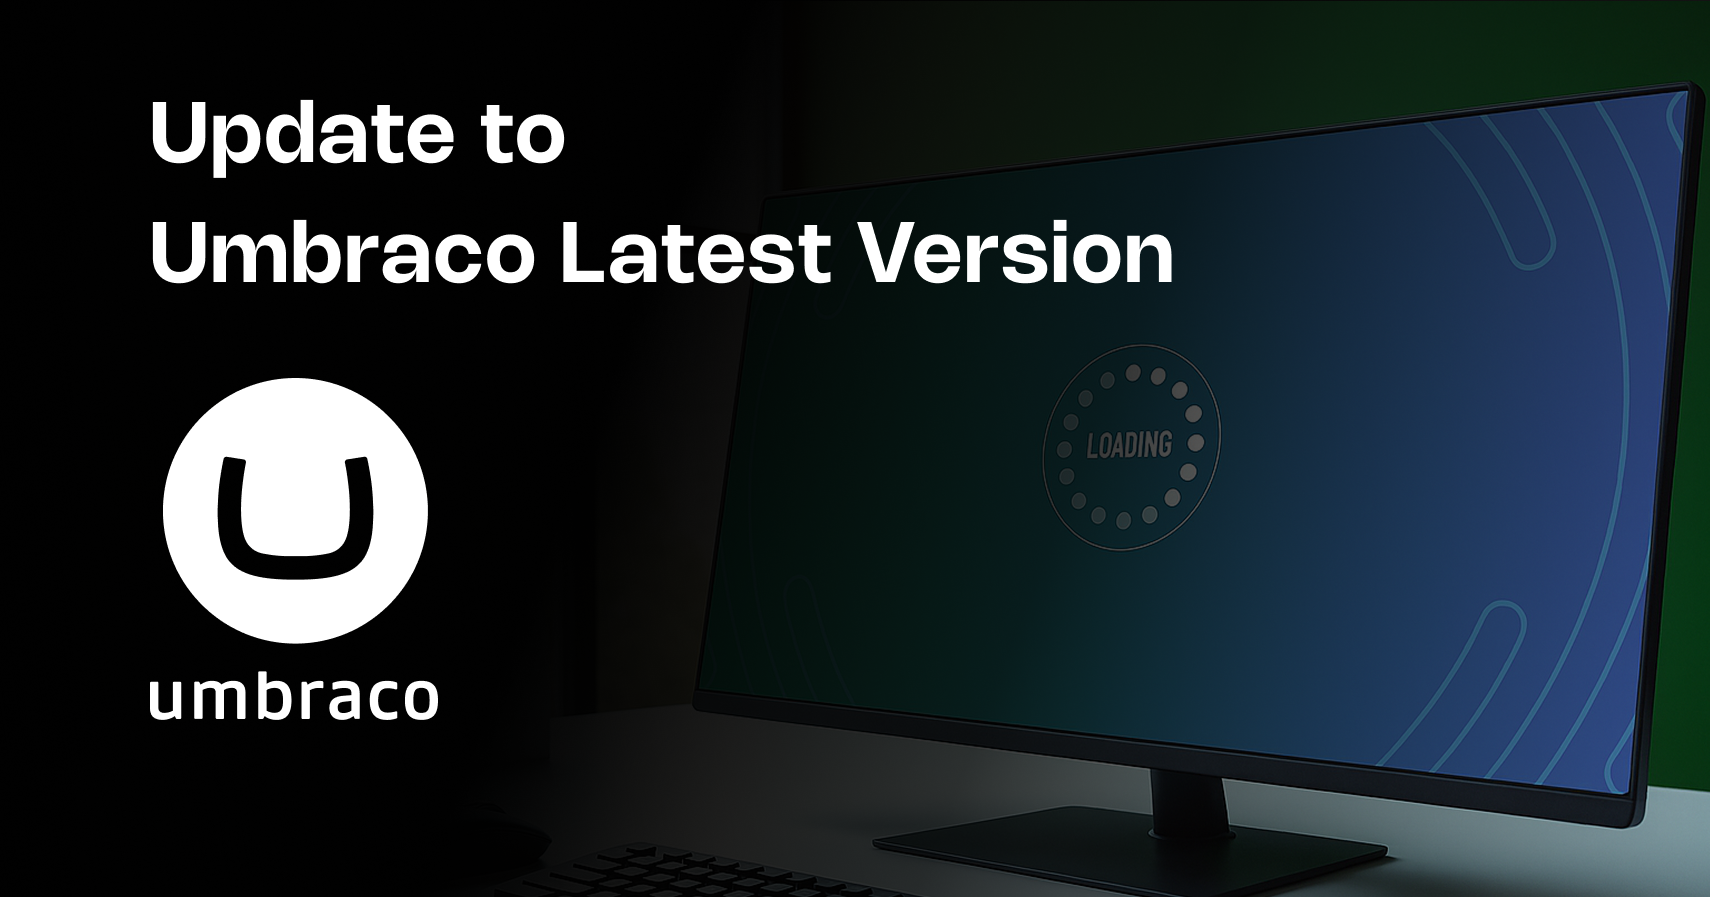
Update Umbraco old version to latest Version
If you have a website running based on Umbraco CMS but your Umbraco version is old like 7 or 8, you should update to Umbraco version 14. Now the question is, why do I need to update the old Umbraco version and how can I update my old version to the new Umbraco 14? Let’s take both questions step by step.
1. Why am I required to update my old version of Umbraco?
The short answer is that Umbraco has discontinued its support for versions 7 and 8.
Second, in the old version, you are missing speed and new functions available in the new Umbraco version.
2. How do I update my old Umbraco version to the new one?
For this question, there are multiple ways to update your old Umbraco version. In my case, I have a website that is built on Umbraco version 7.12. I followed the steps below to update my website:
- Back up your website and database.
- Update to the last minor version from the NuGet package manager of the website. For example, on my website, it was 7.12, so I updated it to 7.15.11. You can find all version details from this link:
https://our.umbraco.com/download/releases/
During my update process from 7.12 to 7.15.11, I encountered an error with another package (“Microsoft.CodeDom.Providers.DotNetCompilerPlatform”). As a result, I first updated the package and then updated the Umbraco version.
- Build and run your website so that it automatically updates your database version.
- Now download the “uSync.Migration.Package” zip file and install it locally from this website. You can download this package from the link below:
https://github.com/Jumoo/uSyncMigrations/blob/main/GETTING-STARTED.md - After installation, run your project and go to the settings. You can find “uSync Backoffice” and the “Migrations” tab. Click on that and then create a migration pack. It creates one zip file for your content, templates, settings, etc. Download that file.
- Now I am going to install Umbraco 10 (https://our.umbraco.com/download/releases/1000). Once installed, just complete the installation with the new database.
- Once the installation is complete, stop the website and go to Visual Studio. Install two packages:
- dotnet add package uSync
- dotnet add package uSync.Migrations –prerelease
- Run your website and log in to the back office. Now go to “Settings.” You will notice a new tab or menu panel available on the left side — “Synchronization.” Go to “uSync Migration” and upload the zip file of “uSync Backoffice” that we downloaded in the old version. You will find an upload button under “Start a New Migration.”
- Once you upload the zip file, the system shows you one slide with zip information. Below that slider, you need to select “Migration Plan” and select “One Step Upgrade (Blocklist, Block Grid).” It will automatically convert your old data types into Blocklist and Block Grid.
- Now after submitting, you can manage the migration your own way. Click on the “Convert File” button. Once you click, it will show all other menus like importing one by one — users, settings, content — or you can use the “Everything Import” button, which takes some more time to import all data into Umbraco 10.
- After the import is complete, the system shows a list of items with the name and details of what was imported.
- Now all done. At this moment, you have all data in Umbraco 10, with your old data types converted to the latest ones. For reference, I took two screenshots of my old and new system nested content data types, which were converted into Blocklists.
- After Umbraco 10, you need to update your Umbraco from Visual Studio. Stop the website and go to Visual Studio NuGet Package Manager. Check under “Manage Packages for Solution” → “Updates” tab. You will find Umbraco.CMS. Update this package to version 11. Once it’s updated, run your project — the system will automatically update your database for the new version. You can also find the log in the Umbraco >> Logs folder of your project.
- Repeat the same process for versions 11 to 12, 12 to 13, and so on up to the latest version. Finally, you will have an up-to-date database for the new version.
Note: Once the database is updated, you also need to update your code. For this, find out how many old methods are deprecated in the new version and what new methods you need to implement instead of the old ones.
Thank you for reading this blog. Let me know if you need any help from my side.

Related Blogs


Read More

Read More

Read More